how to index blogger posts through google api in 5 minutes Indexing Blogger posts through the Google API involves using the Indexing API to notify Google about new or updated content on your blog. Here’s a simplified guide to help you do this in around 5 minutes:
how to index blogger posts through google api in 5 minutes
Step 1: Create a Google Cloud Account
If you don’t have a Google Cloud account, you need to create one. Go to the Google Cloud Console and click on “Get started for free.” Follow the prompts to set up your account.
Step 2: Create a Project
Once you’re logged in, create a new project by clicking on the project drop-down menu at the top of the page and selecting “New Project.” Give your project a name and click “Create.”
Step 3: Enable the Instant Indexing API
- In the Cloud Console, navigate to the “APIs & Services” > “Dashboard.”
- Click on the “+ ENABLE APIS AND SERVICES” button.
- Search for “Indexing API” and select the “Indexing API” from the results.
- Click the “Enable” button.
Step 4: Create Service Account Credentials
- In the Cloud Console, go to “APIs & Services” > “Credentials.”
- Click on “Create credentials” and select “Service account key.”
- Choose or create a service account, select a role (e.g., Project > Editor), and choose JSON as the key type.
- Click “Create” to download the JSON file containing your credentials.
Step 5: Set Up Authentication
Save the JSON file securely. In your code, use these credentials to authenticate requests to the Instant Indexing API.
Step 6: Make a Request to the Instant Indexing API
Use your preferred programming language to make a POST request to the Instant Indexing API endpoint. The endpoint is usually https://indexing.googleapis.com/v3/urlNotifications:publish.
Example using curl:
curl -X POST -H "Content-Type: application/json" \

     -H "Authorization: Bearer YOUR_ACCESS_TOKEN" \

     --data '{"url": "YOUR_URL", "type": "URL_UPDATED"}' \

     "https://indexing.googleapis.com/v3/urlNotifications:publish"
Replace YOUR_ACCESS_TOKEN with the access token from the service account and YOUR_URL with the URL you want to submit for indexing.
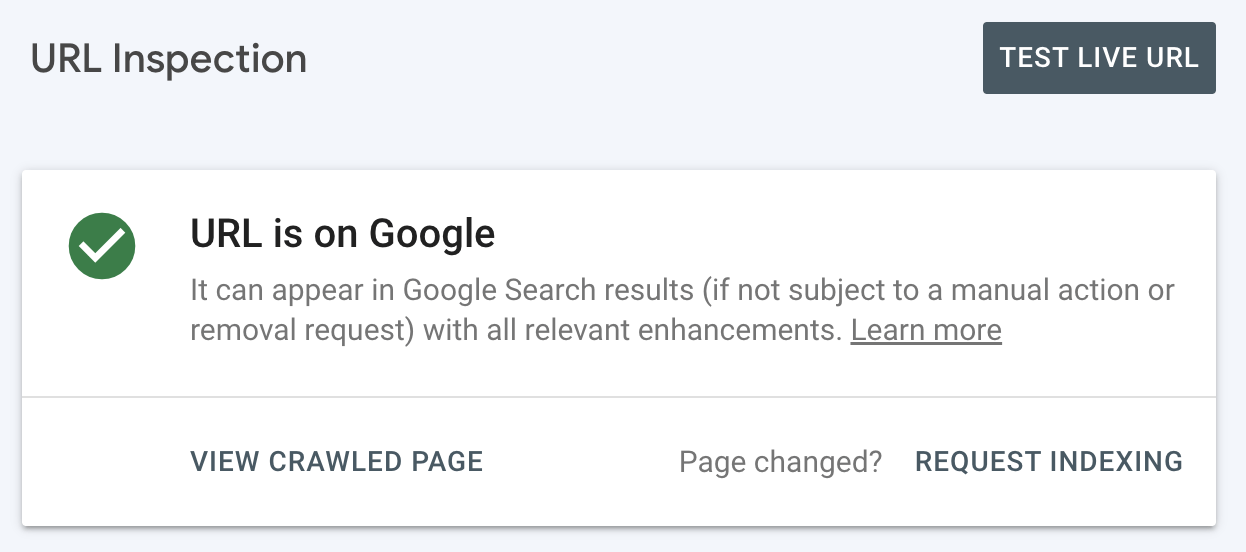
Step 7: Verify the Submission
Check the response from the API to ensure that your request was successful. You can also verify the indexing status in the Google Search Console.
That’s it! You’ve successfully set up and used the Instant Indexing API from Google Cloud.
thank you very much
_________________
https://bansports.fun
Excellent post. I absolutely appreciate this website.
Keep it up!
Well done, I liked it!
The site is just great, everyone would be like that!
Ryder Andrews
Wow, superb blog layout! How long have you been blogging for?
you make blogging look easy. The overall look of your web site is wonderful, as well as the content!
Naveed bhai survey page kesy bnau? please guide kr dyn apki videos to sykhta hu sari agar survey wali miss kr di meny to please link provide dy shukriya!
Right
Timely topic
The problem with this is andd I know a lot of people like no follow and do follow links and etc is a natural link
profile does hae an element off no follow links and no follow
links.
sir muje telegram ki extension chahiye
Nice site
sir drive file upload please
thanks